Here in this tutorial I'm going to take you for a ride to the beautiful world of smoke effects created on Photoshop using Filter, Brush and other tools.
Step 1
Create a new document in Photoshop. Set its Width and Height
to 297 mm x 210 mm and click Create.
Step 2
Place the below image which we are going to create a smoke
effect means we are going to make it hot.
Step 3
Create a new layer and grab the Pen Tool (P) to draw the
path of the smoke.
Step 4
Now we are going to make magic.
Go to Filter > Render > Flame to render the base
texture for smoke effect.
I used the below values for the effect you just play with
the values (Basic & Advanced) and create your own shape.
Go to Paths > Deselect to deactivate the path selection
Step 5
Press Cmd/Ctrl + Shift + U to de saturate the image.
Change the Blend mode to Screen.
Step 6
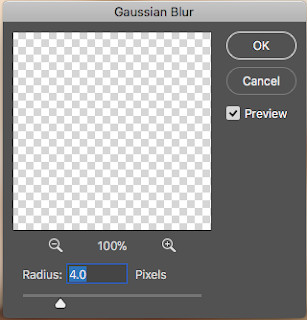
Go to Filter > Blur > Gaussian Blur to blur the smoke
effect.

Add clip mask to the layer to create the feather effect in the end.

Select the brush tool and make sure the foreground color is
black. Opacity: 27 %

Brush the base to create a feather effect and the place
which you want to be lighten.
Change layer opacity to 60%.


